
Hawaiian Bread
If there’s one food item I discovered in the US that I WISHED we could get in Canada, it has to be King’s Hawaiian bread. With a bowl of spinach dip, I could sit and eat this stuff all day. Or until I run out. It’s happened. #noshame
Well, I recently discovered that for the last year, apparently, WESTERN Canada could get it at Save-On-Foods stores. But I’m not IN western Canada, and don’t have a Save-On-Foods anywhere near me. So I’ve had to resort to things like waiting until the next time we visit the family in Indiana … OR make it myself.
I went the make it myself route.
Thankfully, in the modern age, there’s a world of recipes out there on the internet for just about everything. But they’re not all created equally. I went through a few that were disappointing before landing on one that worked.
This recipe is my variation on the King’s Hawaiian Bread Copycat recipe I stumbled on a couple of years ago at Food.com. It was the closest I’d ever found to the original, and appreciate the author for sharing it!
I suppose, if you’re not familiar with King’s Hawaiian, you’re probably wondering what’s so special about … bread. Glad you asked!
The answer is: pineapple.
And ginger. Those are really the big two. Pineapple juice gives this bread it’s sweetness (and Hawaiian-ness?), while the bit of ginger adds a little note of “je ne sais quoi” in the background. It doesn’t TASTE ginger-y, but when you know it’s there, you can notice it.
The biggest perk about making it yourself vs. buying it in the store … the way your house SMELLS while you’re baking it! WOOOOOOOOOOO!! That’s good smells right there!
Anyway, enough rambling. On to the recipe.
Hawaiian Sweet Bread
If you love King's Hawaiian bread/rolls, hold on to your hat! This recipe gives you the sweet goodness anytime you want it!
Equipment
- Mixing bowls
- Measuring cups
- Measuring spoons
- Instant read thermometer
- Whisk
- Wooden spoon
- Kitchen towels (clean ones!)
- Pan to bake in/on
Ingredients
- 6 ½ cups all purpose flour (keep ½ cup separate)
- 3 eggs large
- 2 cups pineapple juice
- 2 envelopes traditional yeast
- ¾ cup sugar
- ½ tsp ginger freeze dried, ground to powder
- 1 tsp vanilla
- 2-3 tbsp honey
- ½ cup butter
Instructions
Proof the yeast
- Pour ½ cup of the pineapple juice in a microwave safe measuring cup. I use a 2 cup glass one, and it ended up being just big enough as the yeast grew.
- Microwave the pineapple juice on high for about 50 seconds.
- Check the temperature of the pineapple juice with an instant read thermometer. You're looking for about 100°. Slightly higher shouldn't hurt anything, but 100° is tried and tested.
- Add two packets of yeast to the warmed juice and set aside while you work on everything else.


Mix wet ingredients
- In a small mixing bowl, crack three eggs and whisk them up.
- Add the remaining 1½ cups of pineapple juice, sugar, vanilla, honey, and ginger. Whisk it all together.

- Melt ½ cup of butter in a small bowl (Usually about 1 minute in my microwave.) and whisk it into the bowl.

Bring it all together
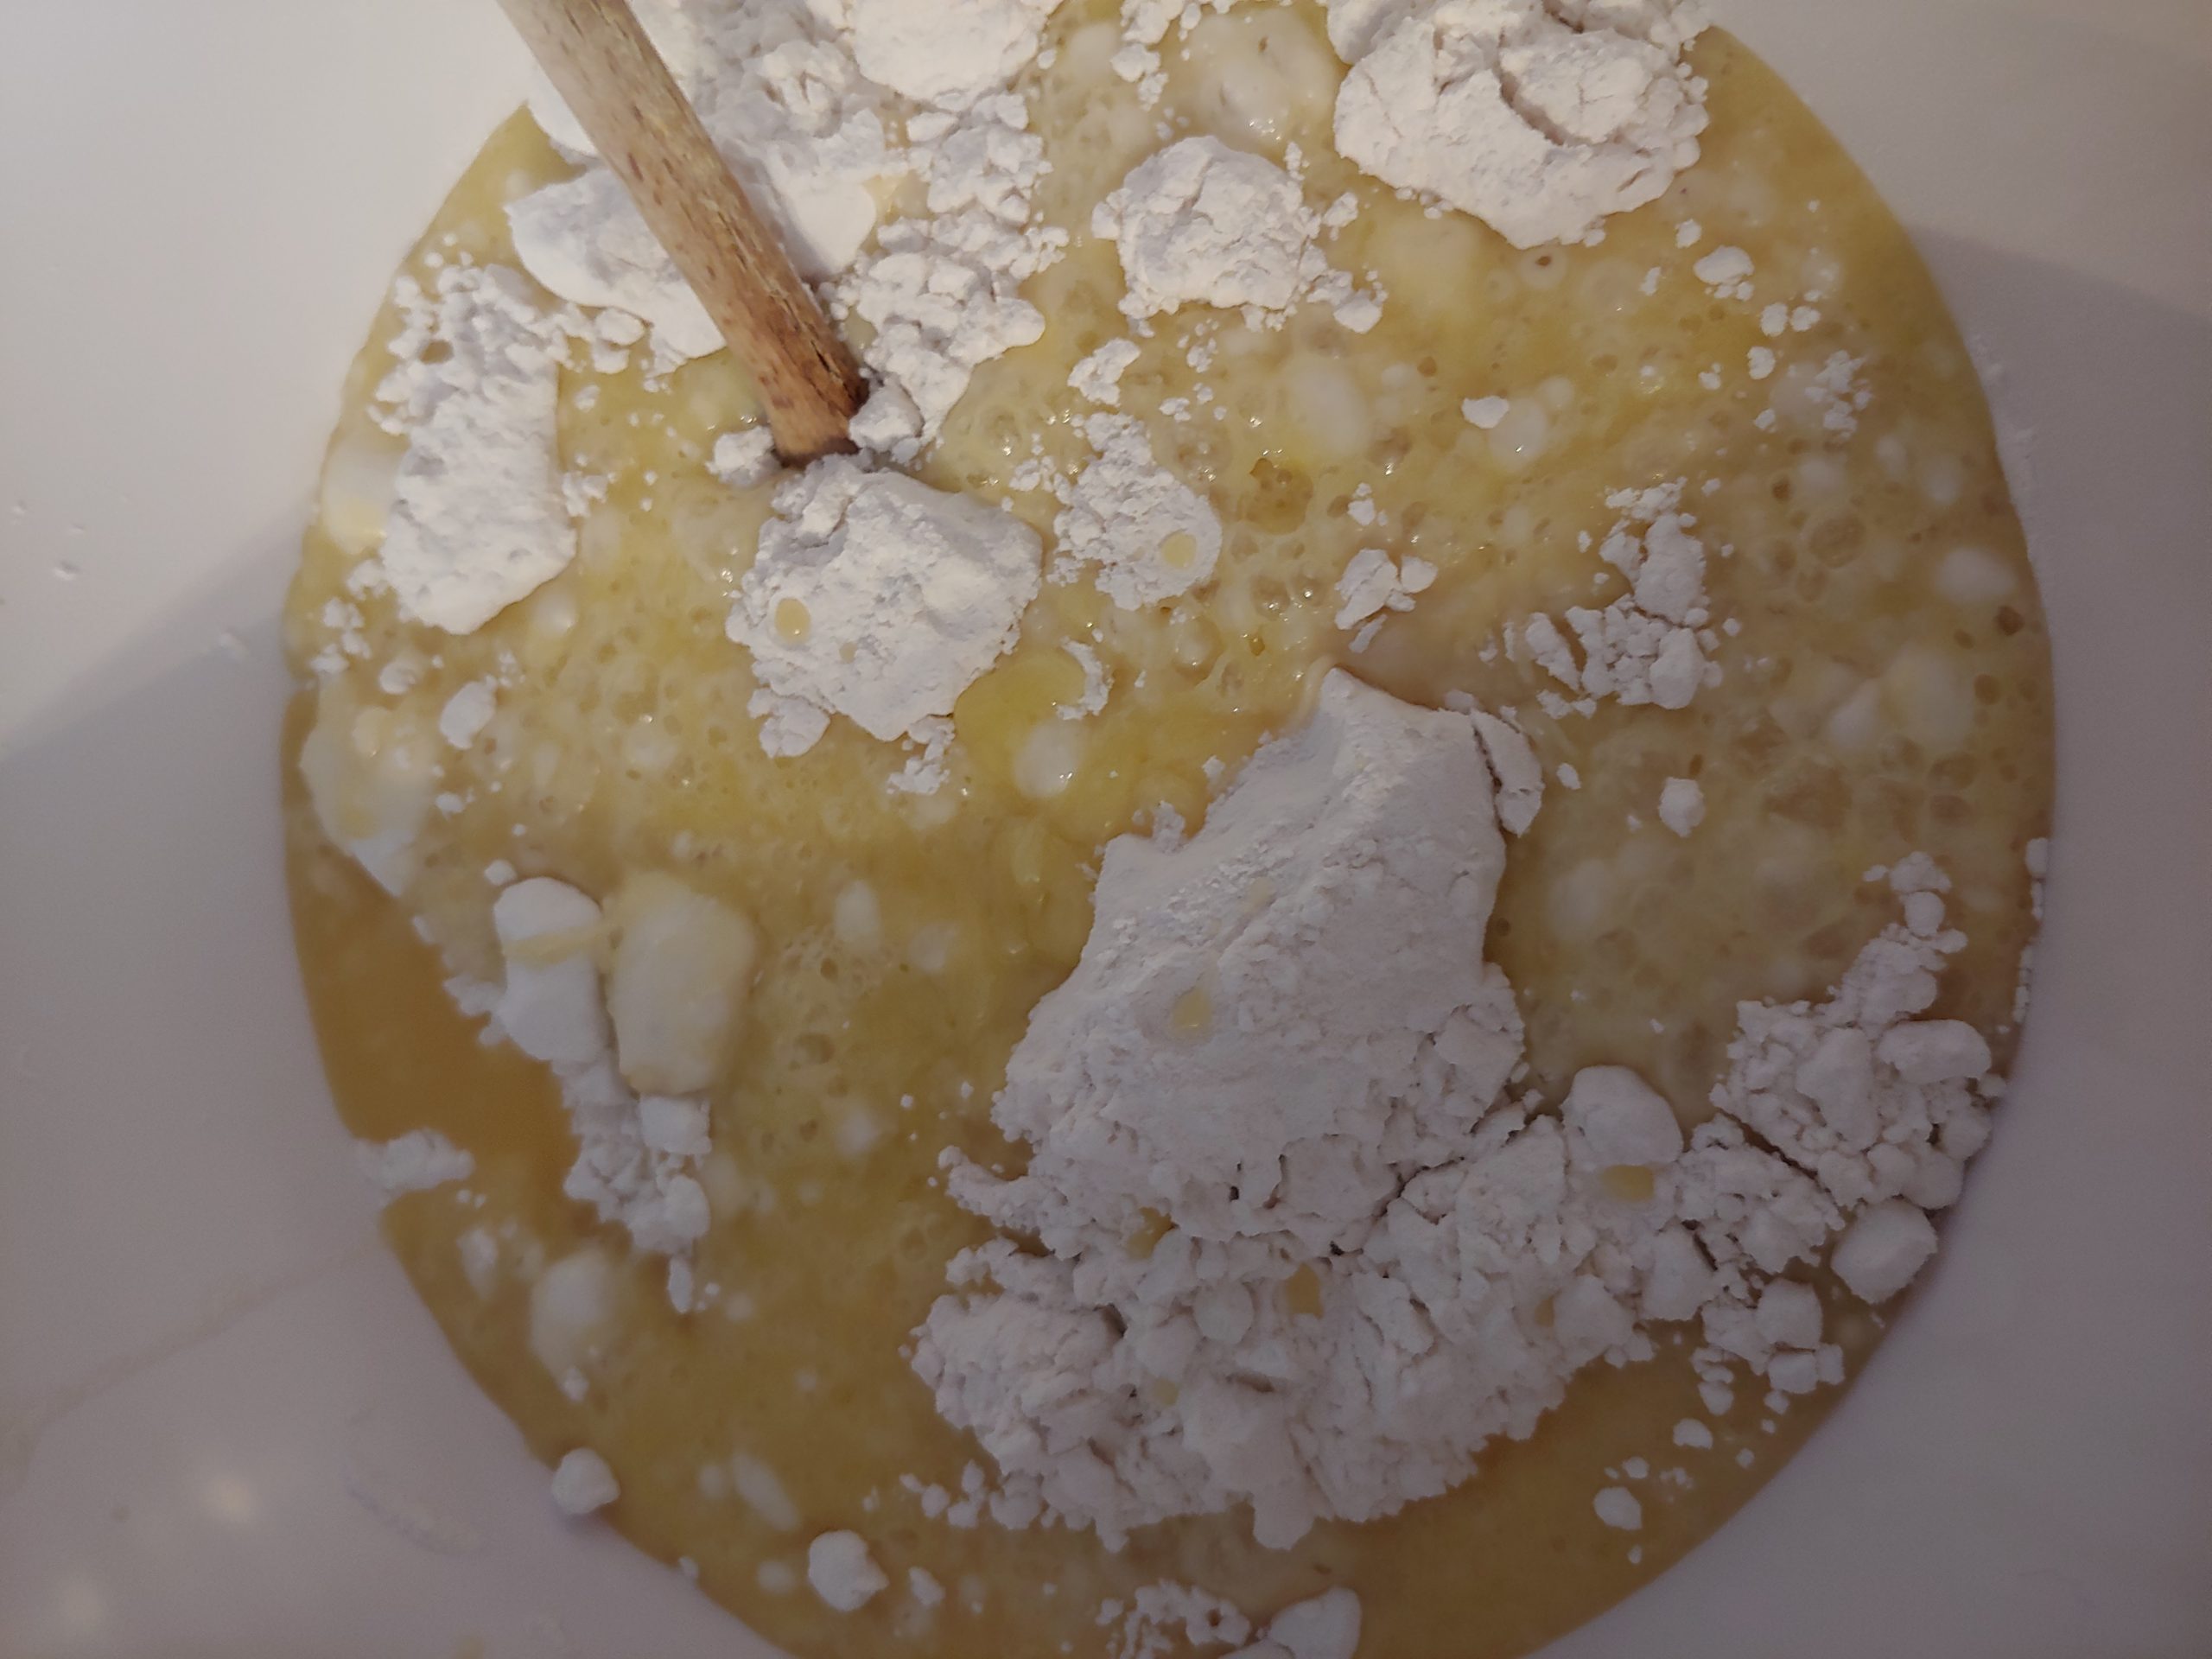
- Measure 3 cups of AP flour into a large mixing bowl.

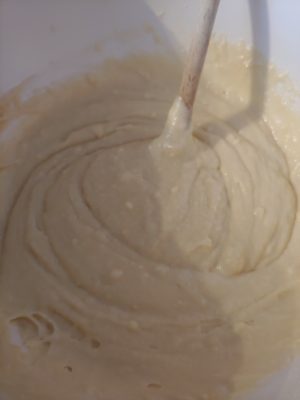
- Stir in the wet ingredients with a wooden spoon until it gets smooth and looks like a cake batter.
- Stir in the yeast beast that's been quietly trying to rise up and out of your measuring cup.

- Add the other 3 cups of flour and mix until thoroughly combined. You will probably want to ditch the wooden spoon and get your hands in there to finish mixing. The dough will still be fairly sticky when it's all combined.


The Waiting: Part One
- Cover your bowl with a clean kitchen towel and place in a warm spot to rise for one hour. You can also pop on your oven for 30 seconds to a minute, just to start it warming up, then put your bowl in the oven to rise. That little burst of heat will help things along, but won't get too hot.


Divide and Conquer
- Remove your dough from the bowl to a floured surface. This flour will come from the ½ cup you kept separate from the ingredients list.
- Add the rest of that ½ cup of flour to your dough and knead it in. It took me a few minutes to get it all incorporated
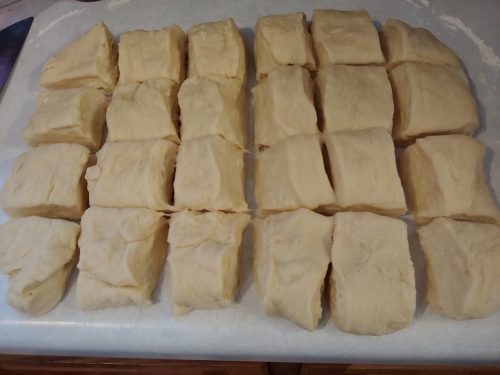
- What you do at this point depends if you want to make loaves or buns. If you're making loaves, divide the dough into however many pans you're making. For regular loaf pans, you're probably looking at 4 or 5. You will want to grease and flour the pans to ensure easy removal after baking. If you use a round pie plate (which I recommend if you're making this to go with spinach dip for parties), you should get at least 3 large loaves. Grease and flour the pans.If you want buns/rolls, I kneaded/stretched/folded the dough into a roughly rectangle shape about an inch thick and sliced it into 24 pieces with a sharp knife. I was experimenting, so I took some pieces and rolled them in my hands to a round/ball shape. The rest I basically just left as the cut squares of dough and baked them on cookie sheets. (NOT greased or floured.) All baked well and worked fine, but the rounded ones looked the nicest. I'll go that route in the future.

The Waiting: Part Two
- However you divided your dough, cover the pans with clean kitchen towels and again place in a warm spot to rise for another hour. I did the oven trick here again.

- Around 50 minutes in, IF you are letting your dough rise in the oven, remove them from the oven. Why? See the next step.
- Pre-heat your oven to 350 degrees. Mine takes about 8 minutes to pre-heat. Adjust time for your oven so it's ready when the rising is over!

Let's Bake!
- Pull off the towels, marvel at your creations, and stick them in the hot box. I mean oven. (What? It's hot, it's box shaped … I know what I said.)

- Bake for 20-30 minutes, depending on your loaf/bun/roll size. Larger loaves = more hot box time. Buns/rolls = less time in the oven.

- Remove from oven.

- While still piping hot, take a chunk of butter and rub the top of each loaf/bun/roll. You could also melt some butter and use a basting brush, but I just used a chunk of butter and rubbed it around. Works fine.

- Against your every instinct, allow to cool before tasting. If you do something stupid and burn off the roof of your mouth because you couldn't bother to wait, you were warned, and I can't be held responsible.
- ENJOY!!


Notes
There have been online debates about what kind of ginger to use. Ground ginger? Fresh ginger? Well, I split the difference. I have a bottle of freeze dried ginger, so I take a teaspoon or so of it out and put it in a little mortar and pestle. Then I grind it into a powder. It winds up being about a half teaspoon of ginger powder.
If I had a chunk of ginger in the freezer, which I do now and then, I would probably grate (FINELY grate) a full teaspoon into the mix instead.
I’ve never actually tried “ground ginger” that you find on a spice rack in this, so if you try it with this recipe, let me know how it worked out for you.
For honey, I’ve used both liquid honey and creamed honey. Either will work just fine here.
One thought on “Hawaiian Bread”